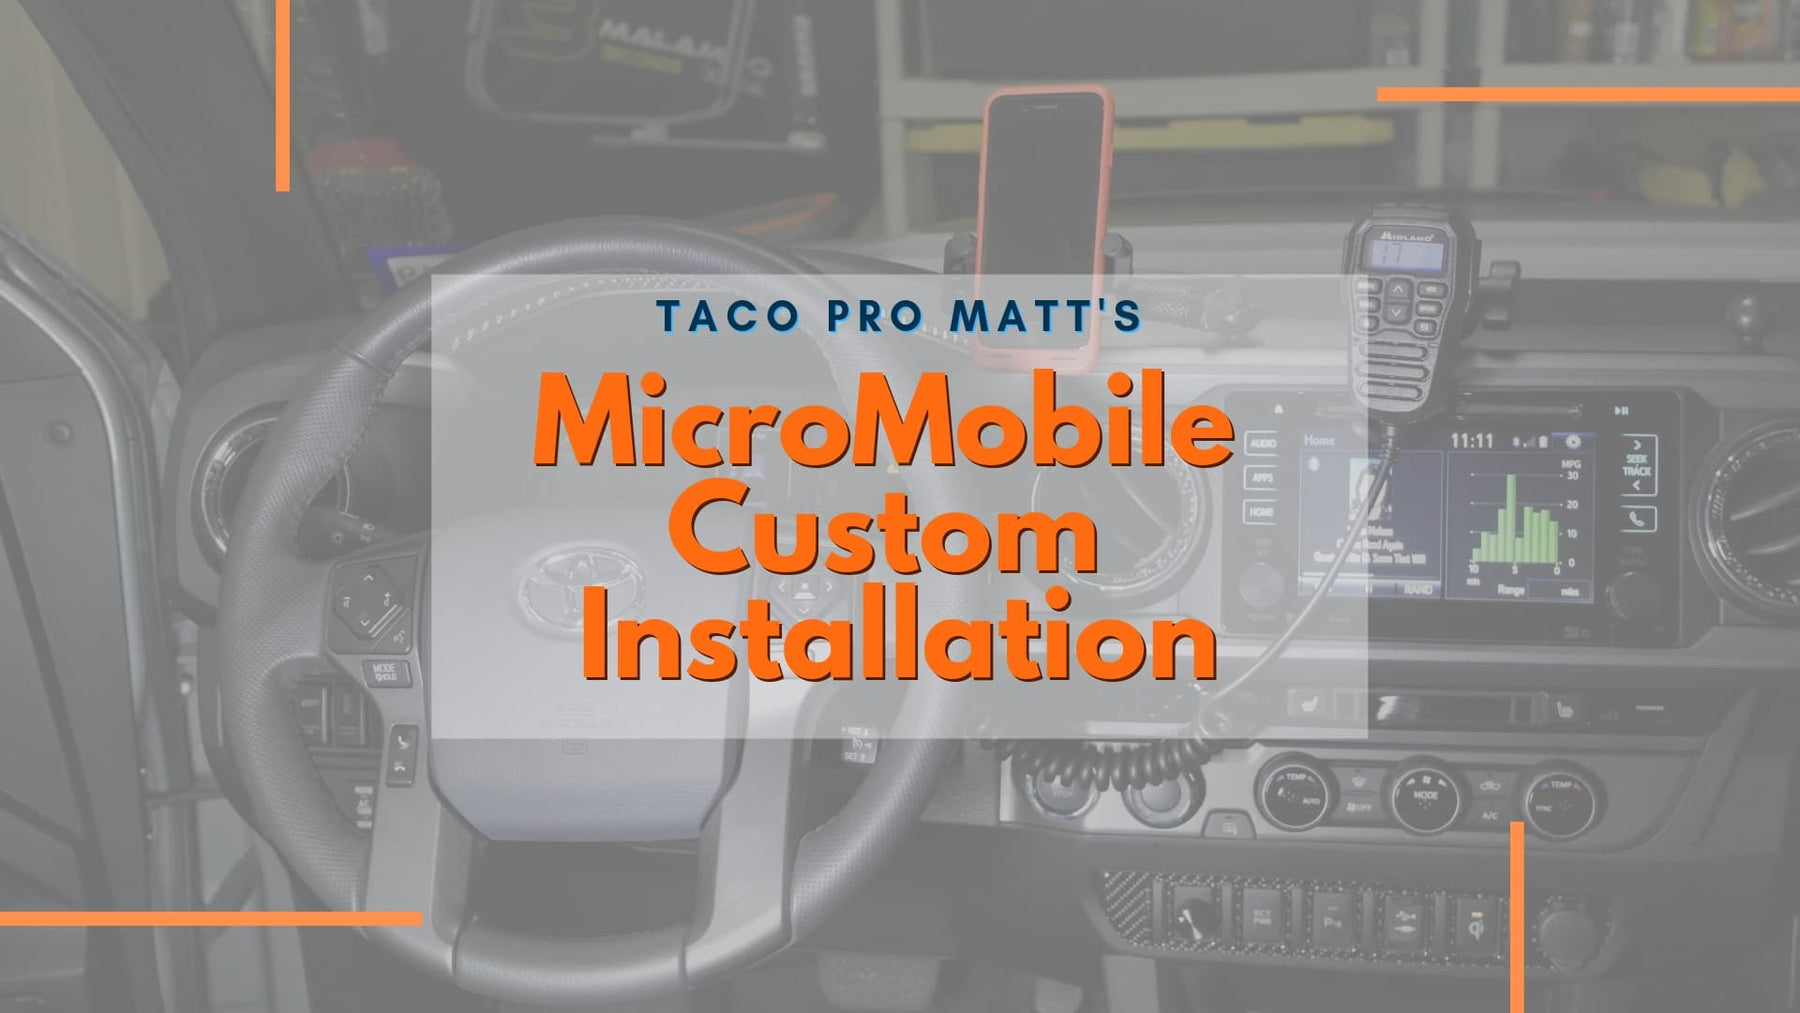
Maximize Your Dash Space with This MicroMobile Custom Installation

Table of Contents
Off-road enthusiasts, Overlanders, and even Farmers are making the switch from their CB radios to GMRS mobile radios, like those from the Midland MicroMobile line. Our newest MicroMobile, the MXT275, puts all of the communication power right in your hand. The fully-integrated handheld mic means you can stash the head unit out of sight without losing functionality. Make the most of your GMRS MicroMobile radio and available dash space with a custom installation.
Maximize Your Dash with This Custom Installation of the MicroMobile MXT275
We caught up with our overlanding friend, Taco Pro Matt, about his custom installation of his new MicroMobile MXT275. He shared his step-by-step instructions for his custom install including a gain antenna and in-dash plug in for the mic.
Step 1: Install Your MicroMobile
Install the MXT275 base unit under the driver’s side dash. Secure with heavy duty Velcro for easy removal if need be. Find a sturdy part of the dash support to keep it from vibrating or moving. Velcro is used in case there are electrical issues that need to be addressed in the future. Zip-ties will work as well.
Step 2: Wire the Base Unit
Wire the base unit using a tap-a-fuse under the driver’s kickpanel/dash. Red will connect to the fusebox, black will need to be grounded to an existing ground nearby. A decision can be made to have this unit always powered or only when the vehicle is on. In this case it was wired to always be on so the unit can be powered it up while the truck is off.
Step 3: Install UHF Switch Blank
Pop switch panel out and push OEM blank out from back side. Install UHF switch blank in its place. Connect 1ft CAT6 cable to back side of new switch and to MXT275 under dash. 1ft cable works just well enough but 2ft would allow for more freedom for location of unit under the dash (keep in mind the longer the cable, the more noise in RX and TX audio.)
Step 4: Run Antenna Cable
Cut one end of antenna cable. This makes it much easier to run to rear of truck. A solder-on connector was used so this was not an issue in this case. Run antenna cable under the door sill and down under the truck using an existing rubber grommet under the driver’s seat. Cut a small slit and push antenna cable through. Use RTV sealant or silicone to seal hole. Run antenna down truck frame up and zip-tie out of the way. Pull antenna up and out of the bedside plastic just in front of the tailgate.
Step 5: Install Antenna
Solder PL259 connector to antenna cable. Use heath-shrink for a clean, weather-proof connection. Drill out Total Chaos bed stiff to allow Midland antenna mount to fit through. Existing hole was big enough for CB antenna mount but NMO mount is slightly larger. Use connector from the Midland Mounting Bracket and install in enlarged hole. Tighten appropriately. (Also shown above with a right angle solder-on PL259 connector).
Step 6: Test Your Work
Test system and make sure everything works as it should. If no power, check proper wiring to fuse panel and proper fuse amperage.
Step 7: Choose Your Mic Holder
Come up with a way to hold the mic inside the cab. Everyone will have different preferences. This custom installation uses a BallsOffroad dash mount with Ram ball/arm and a JeepUniq mic mount.
Links to Taco Pro Matt's Recommended Parts the Ultimate Dash Setup and MicroMobile Custom Installation
- 67 Designs Products: The Dam Adapater + Carbon Fiber Arms
- Mic mount


