Harvest season is right around the corner and for some, it's already begun.
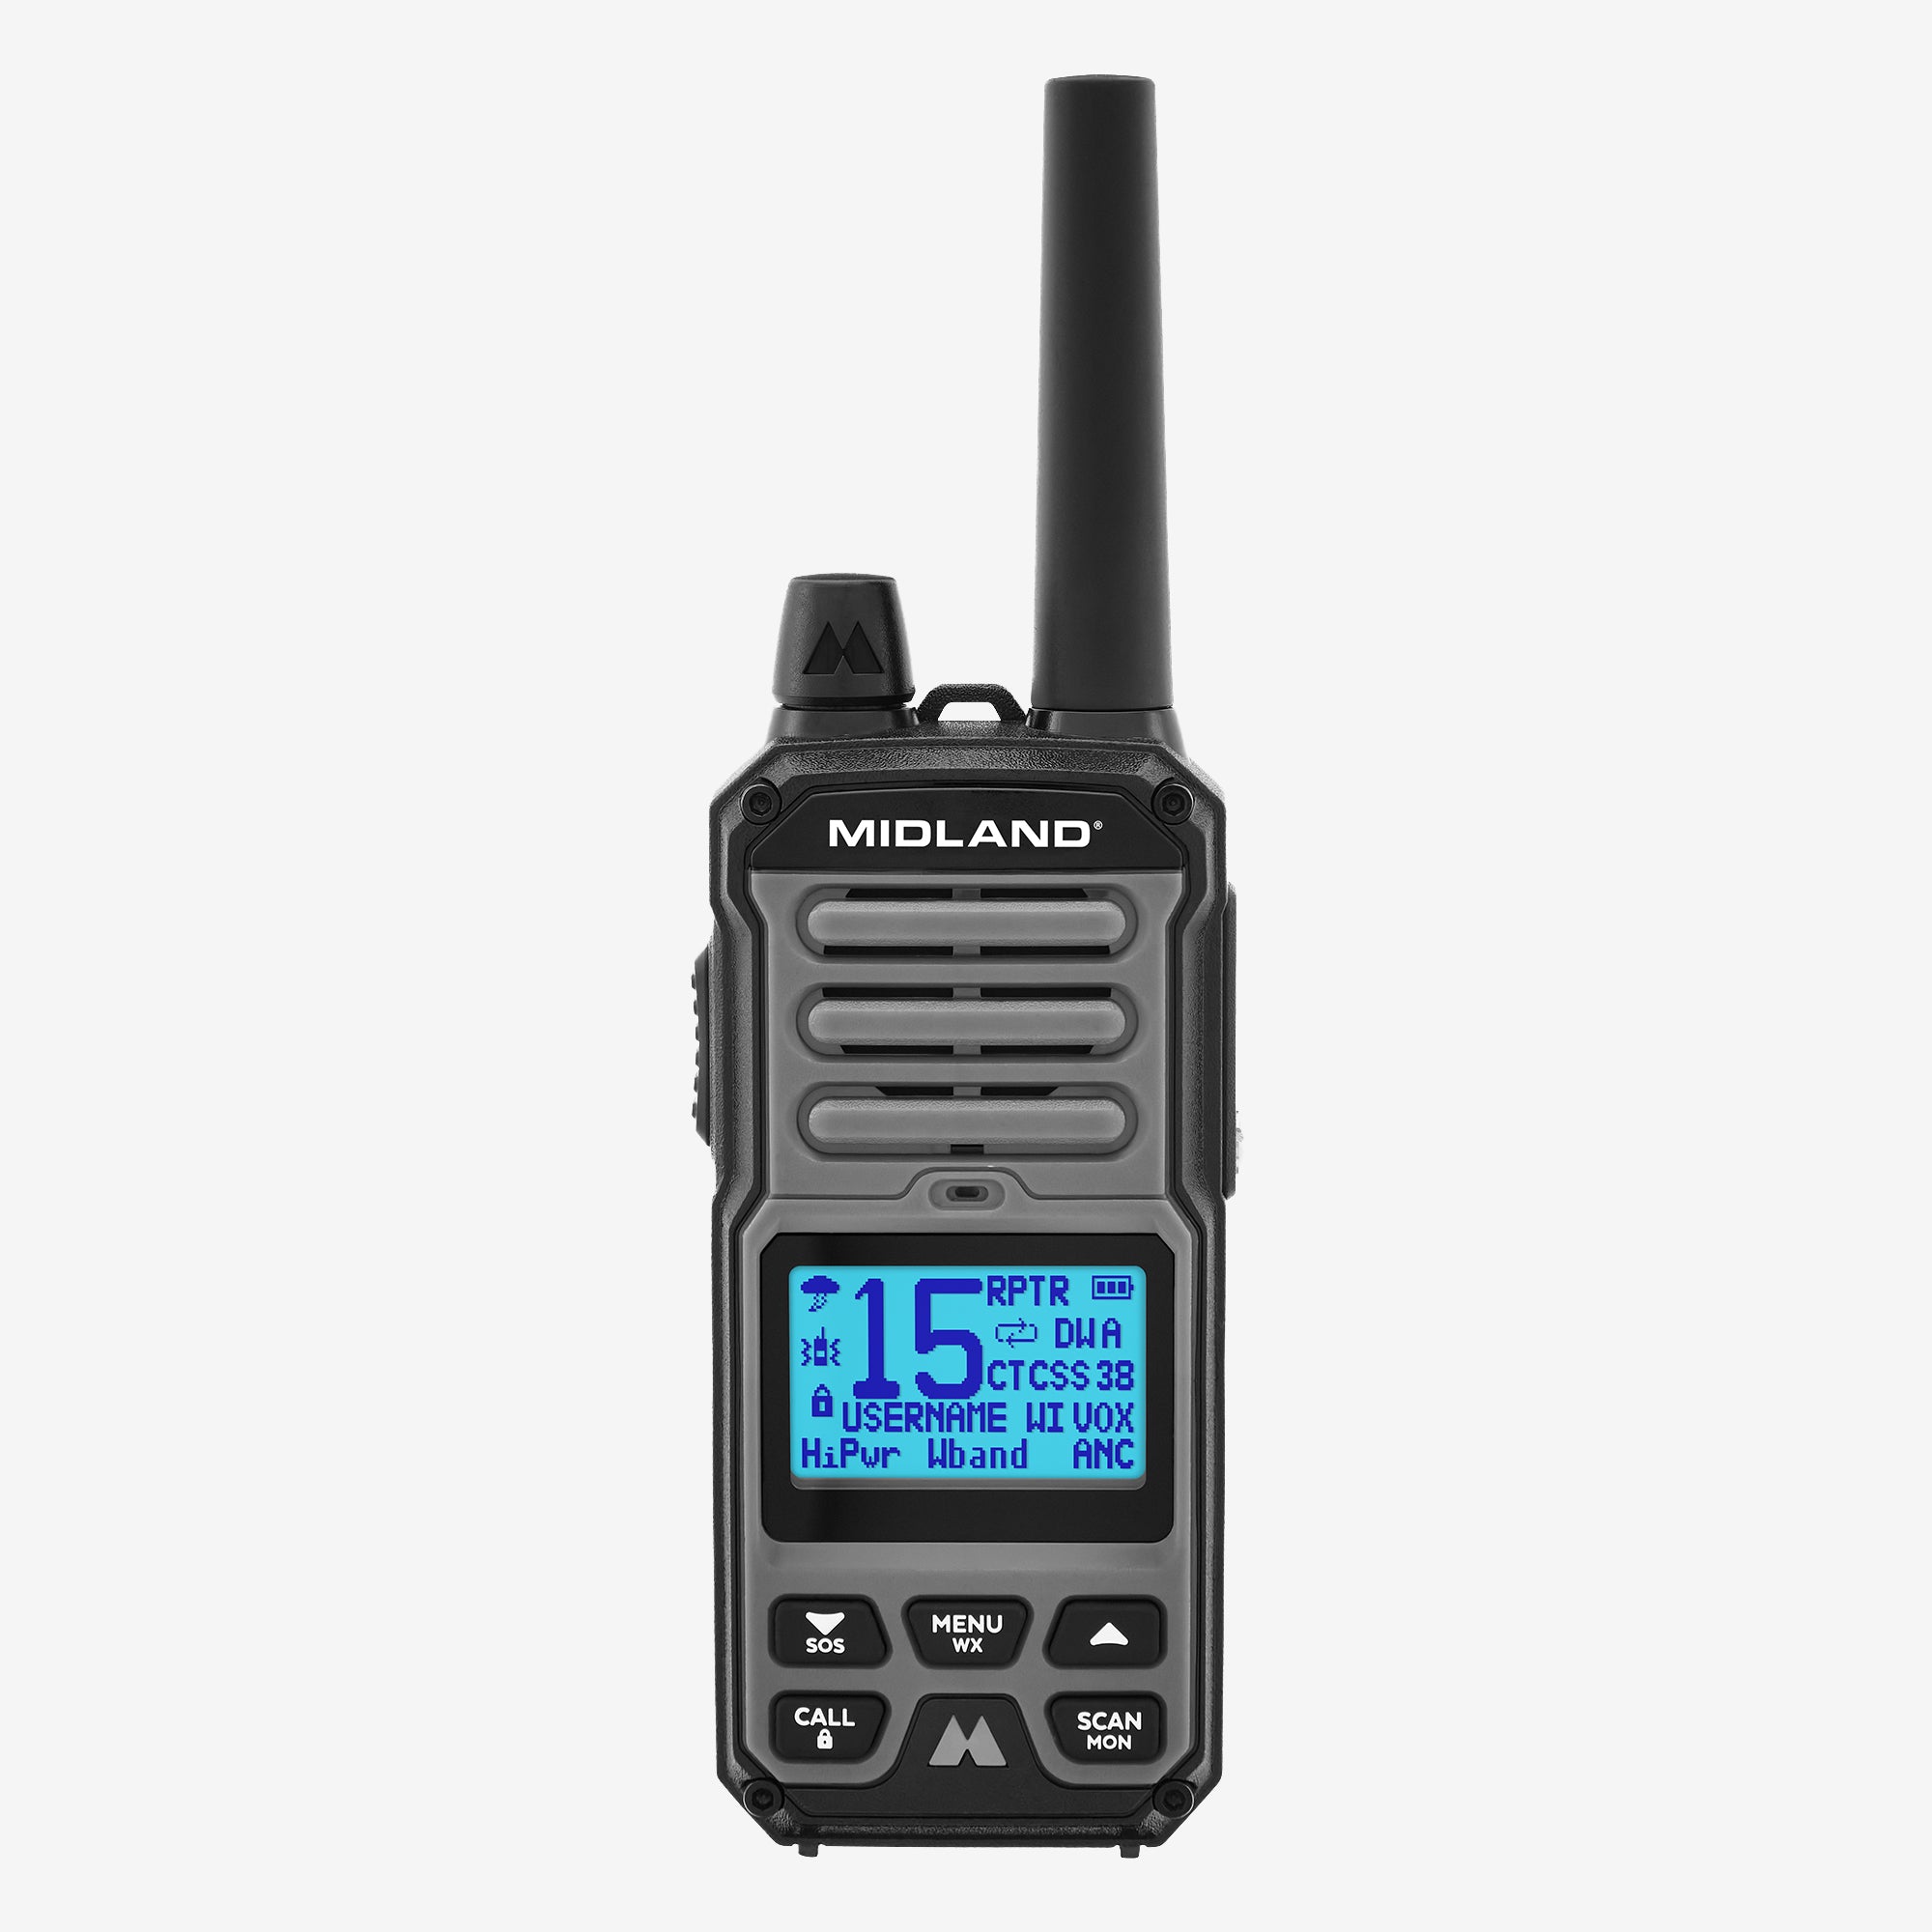
Two-way radios like Midland's MXT115 MicroMobile give farmers clear, reliable, and efficient communication.
JOHN DEERE INSTALLATION
In order to do so, we've put together a guide for installing the Midland MXT115AGVP3 Farm Tractor Bundle in a John Deere combine.
The combine we used is the 9670 John Deere combine model. It's the last of the 9000 series of combines. These 9670 John Deere combine models and all newer John Deere large frame tractors, sprayers, and forage harvesters have NMO Antenna Mounts pre-installed on the top of the cab.
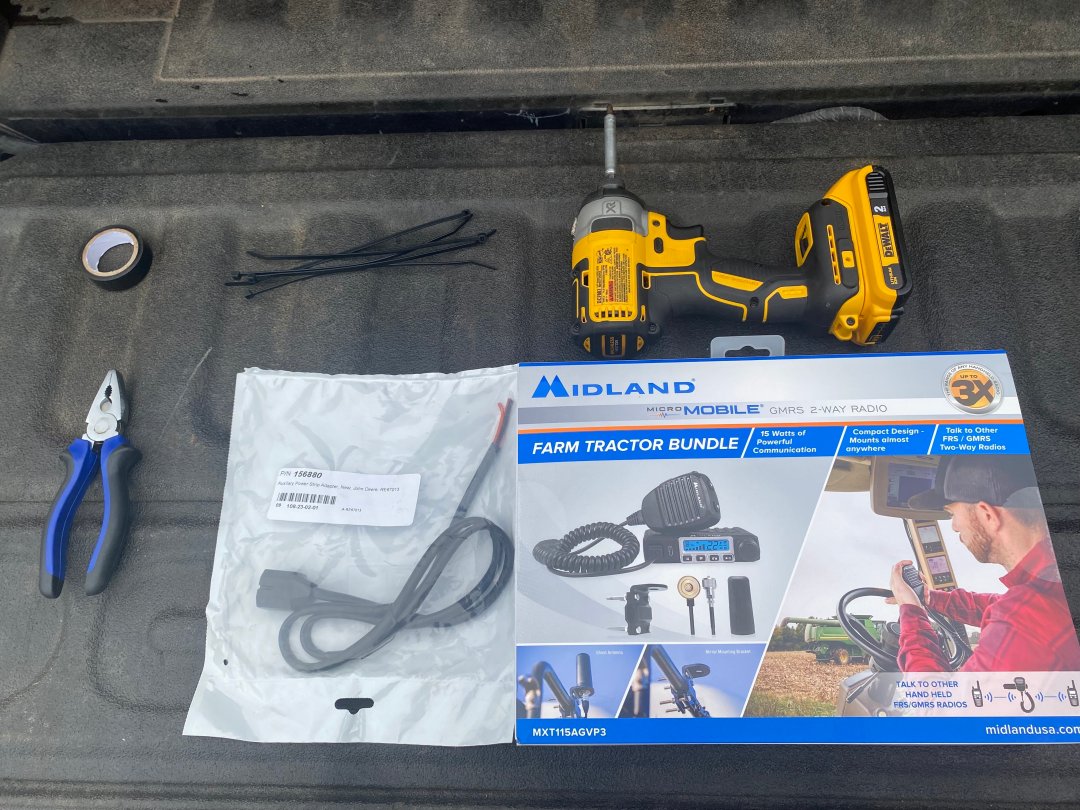
WHAT YOU'LL NEED
Here's a list of the tools you'll need to complete this installation of MXT115AGVP3 in a 9670 John Deere combine.
- MXT115AGVP3 MicroMobile Farm Tractor Bundle
- Midland's 21-406 Deluxe External Speaker
- MXTA37 ANC Dustproof Microphone
- John Deere Adapter RE67013
- Wire cutters
- Electrical tape
- Zip ties
- Drill
INSIDE THE MXT115AGVP3
When unboxing Midland's MXT115AGVP3, this is what you can expect to find.
- MXT115 MicroMobile Two-Way GMRS Radio
- MXTA23 bracket mount
- MXTA24 6-meter antenna cable
- MXTA25 3 db antenna

INSTALLATION STEPS
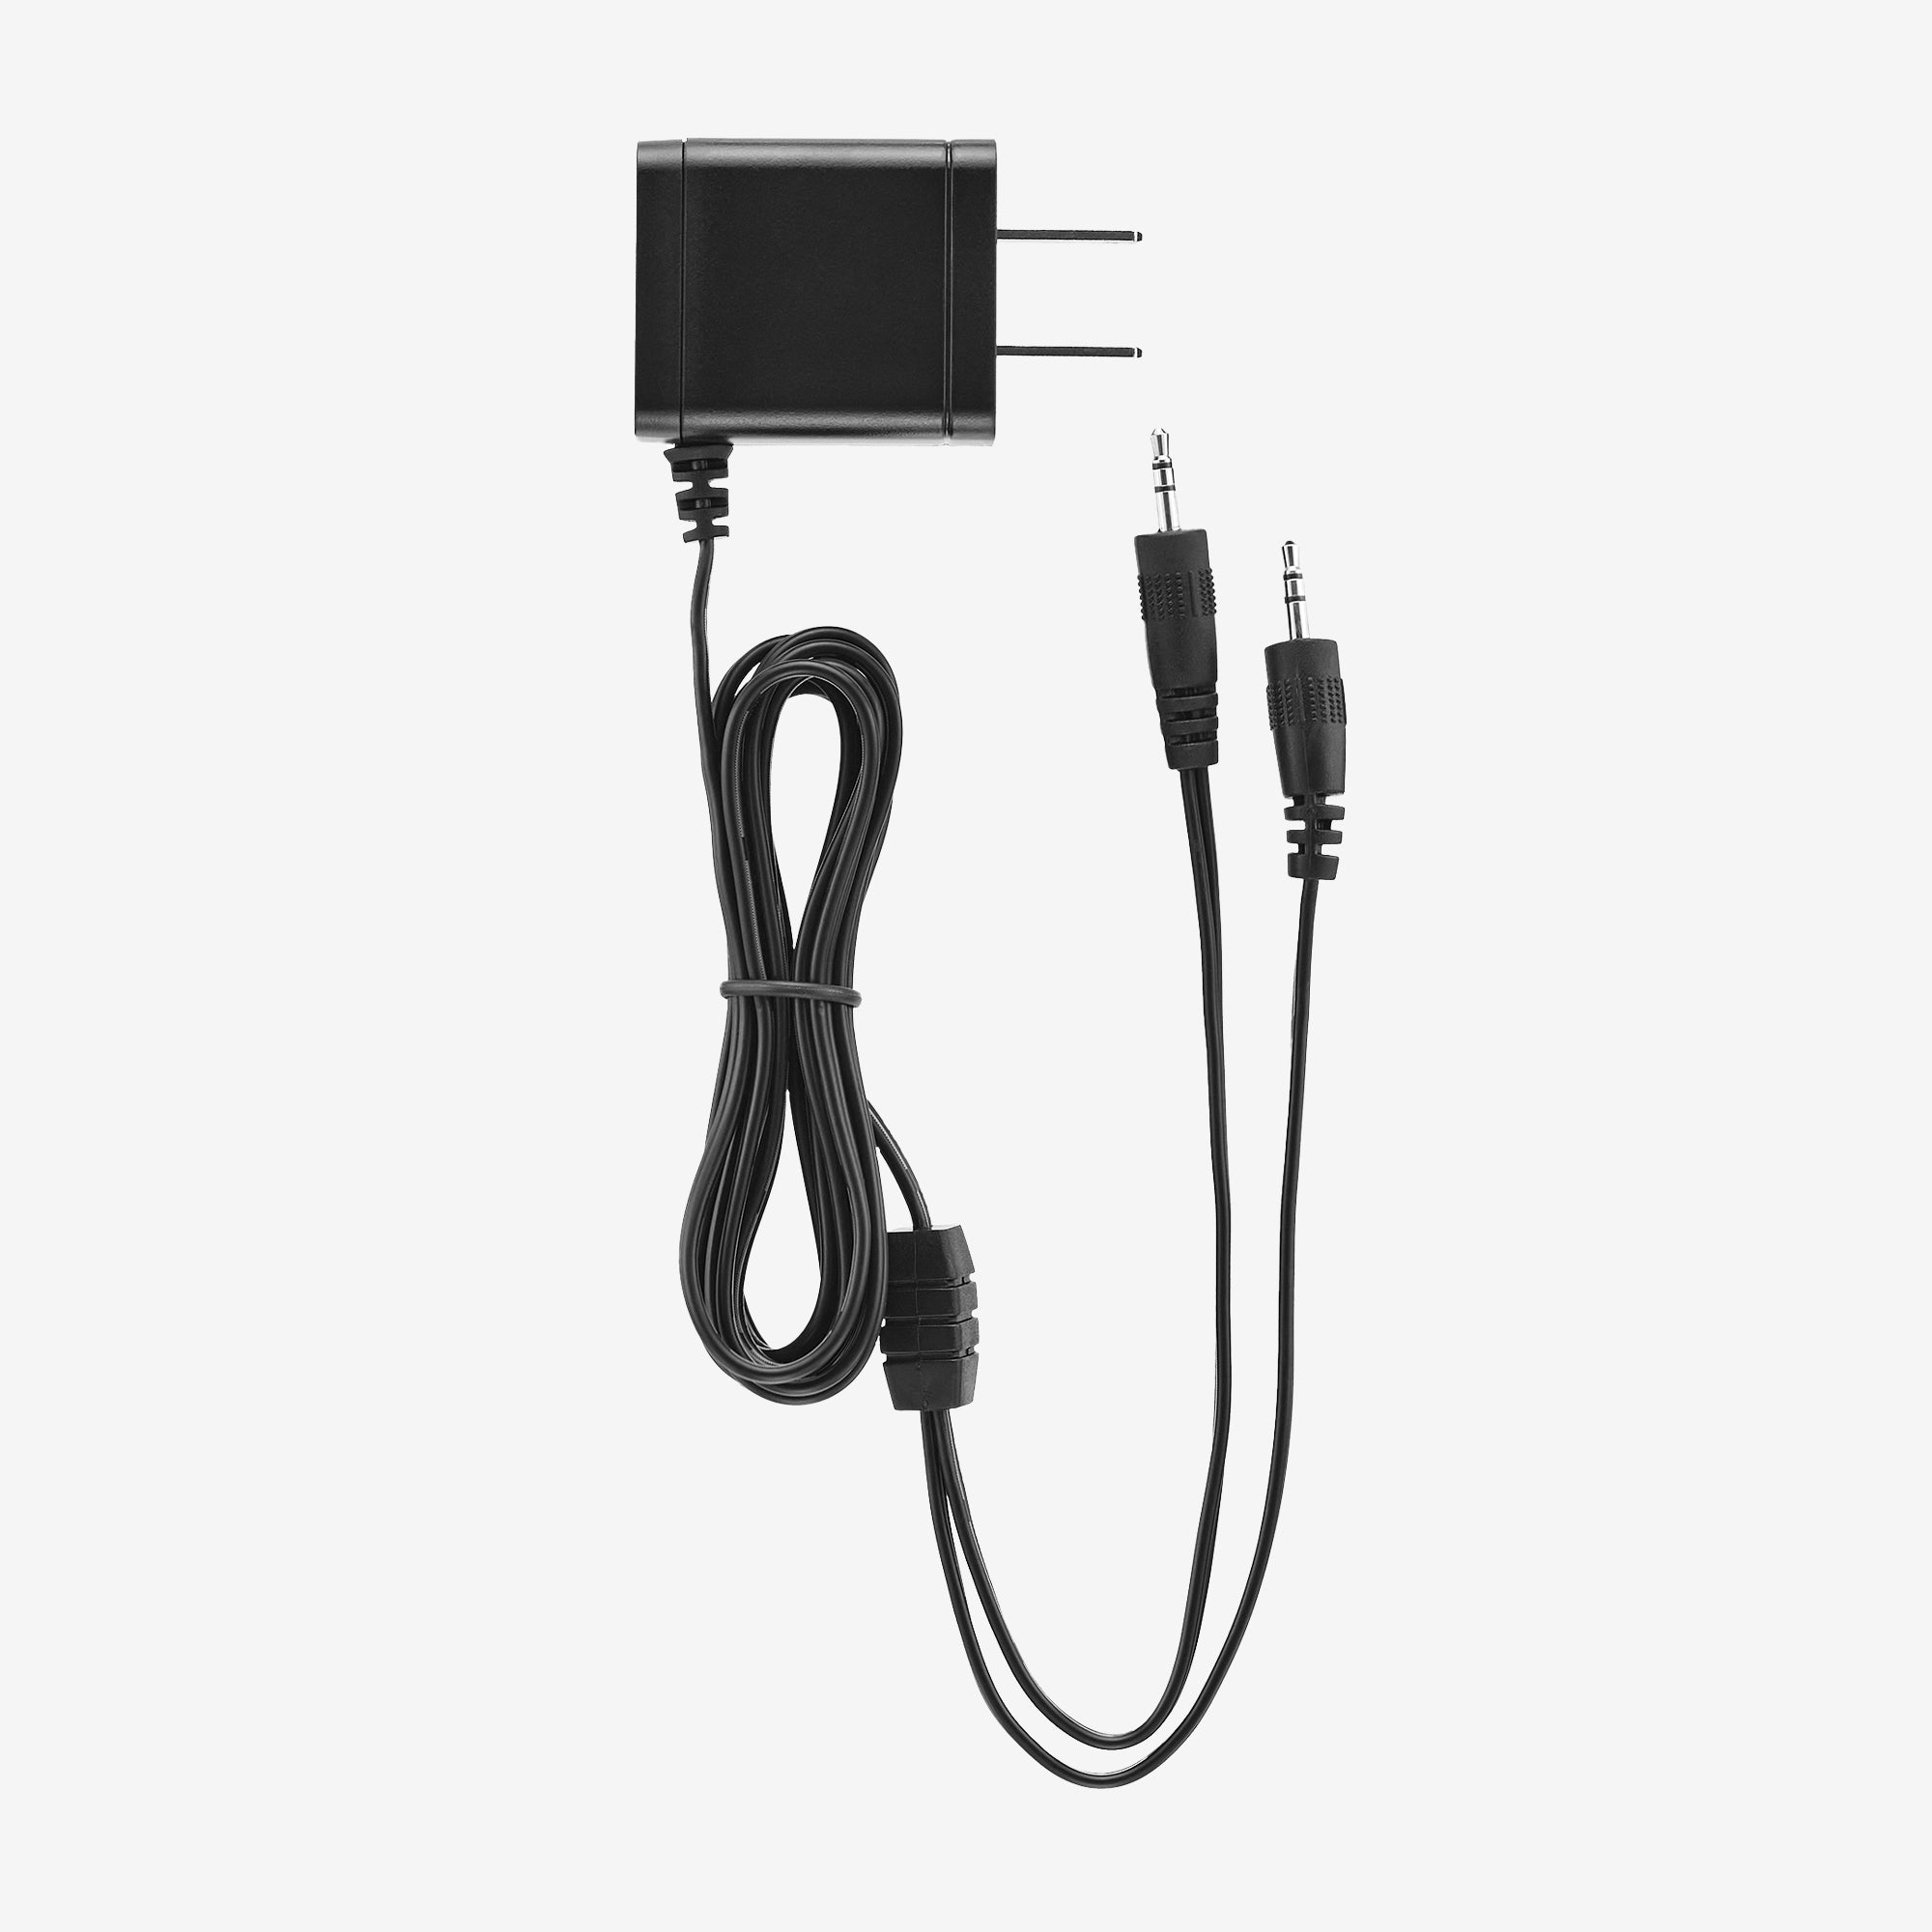
- Cut off the 12 Volt DC Charger because the 9670 John Deere combine doesn't have a 12 Volt plug in
- Begin the splicing of the wire and cap off the unused orange ground wire
- Use the electrical tape to connect the spliced wires. Black wire goes to black wire, red wire to red wire
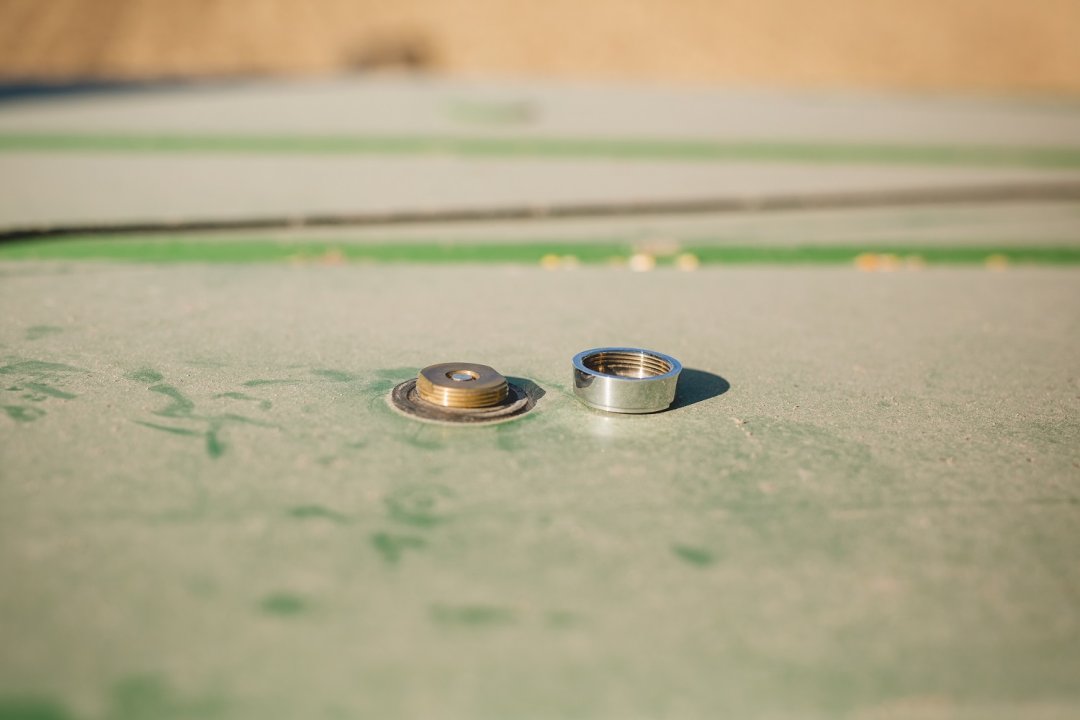
- On top of the combine you will find the existing NMO Mount. Screw that cap off and replace it with the MXTA25 3db Ghost Antenna
- Use the drill to screw in the mounting bracket. Make sure it is sturdy enough to support the radio unit
- Slide in the radio unit
- Connect the existing coaxial cable into the antenna jack on the radio unit
- Plug in the power chord to the John Deere standard connector
- Connect the power chord to the radio unit
- Wipe clean the area in the cab you want to put the mic holder
- Use the adhesive on the microphone holder and press down firmly on the mounting area
- Place microphone in the holder
- Screw in the 21-406 Deluxe External Speaker mount
- Fasten the 21-406 Deluxe External Speaker into the mount
- Grab speaker cable and plug into the external speaker jack on the radio unit


Share:
Nut-Harvesting Equipment Manufacturer Connects Via Two-Way Radios
Midland Part of National Preparedness Month Giveaway