Custom Two Mic Installation of the MXT275 MicroMobile

Table of Contents
How to Create a Custom Two Mic Install of the MXT275 MicroMobile
Background of Installer
After leaving the military in 2009 our family really embraced the adventure of the Overlanding lifestyle, looking to use this new hobby to give us a way to be together and explore the country. Obviously, the community has grown since then and I am now on my third rig, while my son turned 16 this past year and now has a Jeep JKU, comms have definitely been on the radar.
Dual Battery Power Install
Like most Overlanders, after I picked up the stock 4Runner I really thought thru how I wanted to upgrade the rig. I upgraded the suspension and installed a Gobi Rack, Southern Style Off-Road bumper, and Warn Zeon Platinum winch. The next thing on my list was the management of the in cab accessories and planning the electrical needs. I wanted to minimize the complexity of the electrical system while isolating power away from the main battery (main frustration was the lack of power available while truck is off).
Leading up to the MXT275 MicroMobile install I ordered the Off-Grid 4X4 Redarc Dual Battery System and I installed it into the engine bay to have constant power to the radio. Before the dual battery system I had to turn the radio back on every time I turned off the engine which I hated. This custom CB microphone installation solved that problem.
Running the Wiring
After I got the dual battery system installed I then started looking to see how I could maximize the back wheel well storage spot on the rear passenger side to supply power to the rear plugs as this is where I wanted to install the MXT275 MicroMobile. I worked with Grant Winslow of Speaker Box in Huntsville, AL who understood my power needs and had the equipment to machine a cover to give us great access for future expansions. Speaker Box's in-house ability to fabricate the panels and any mounting need from their plastics CNC machine was a huge benefit. We were able to run the wiring from the second battery along the door panel to the rear of the vehicle.
Configuring the Panel
After getting the wiring configured the next step is to connect it to the panel.
Antenna Mounting
Getting to my decision to put the MXT275 head unit in the rear was my wait time for the Gobi Rack and installment of the MXTA25 3db Ghost Antenna so for the time being I am using the magnetic antenna that came with the unit. I have the stock antenna sitting on the Rago panel unit inside the rig and just run it outside when needed while I am waiting for the roof rack. I felt that it would be easier to run the antenna to the rack from the rear and this would allow me to use the Y-splitter to have radio comms in the rear while in a tailgating posture on the trail next to the cooler for some cold drinks while waiting for the group on breaks.
Final Product
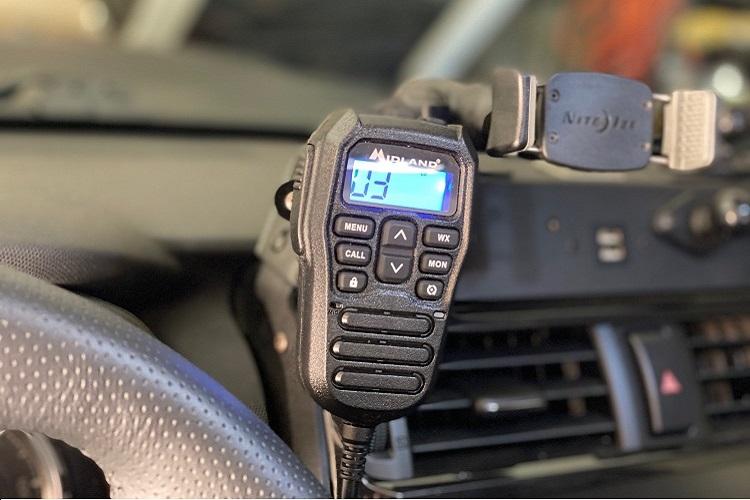
The below images are of the final product. I am sure you will agree that it turned our very clean with the added function of the additional Mic controller.
- Wade Holder
@silver.scout on Instagram
Build Sheet
Female/Female Feed Thru Coupler - Network Connectors
Toyota Socket Connector Dash
Expedition Essentials Front Dash Mount T4RPAM
Custom panel and wiring done by Speaker Box Huntsville


